FEATURED • BEAT THE WINTER CHILL
Some toasty ideas to help beat the chill and save money on your winter bills
PUBLISHED | 01 OCTOBER 2024
Brrrr. Whether you live in a draughty period property with window gaps you could drive a bus through or you’re just sick and tired of the inevitable winter energy price hike, it’s time to take control; time to take that standard Martin Lewis advice one step further…
JUMP TO
All Things Bright and Bioethanol
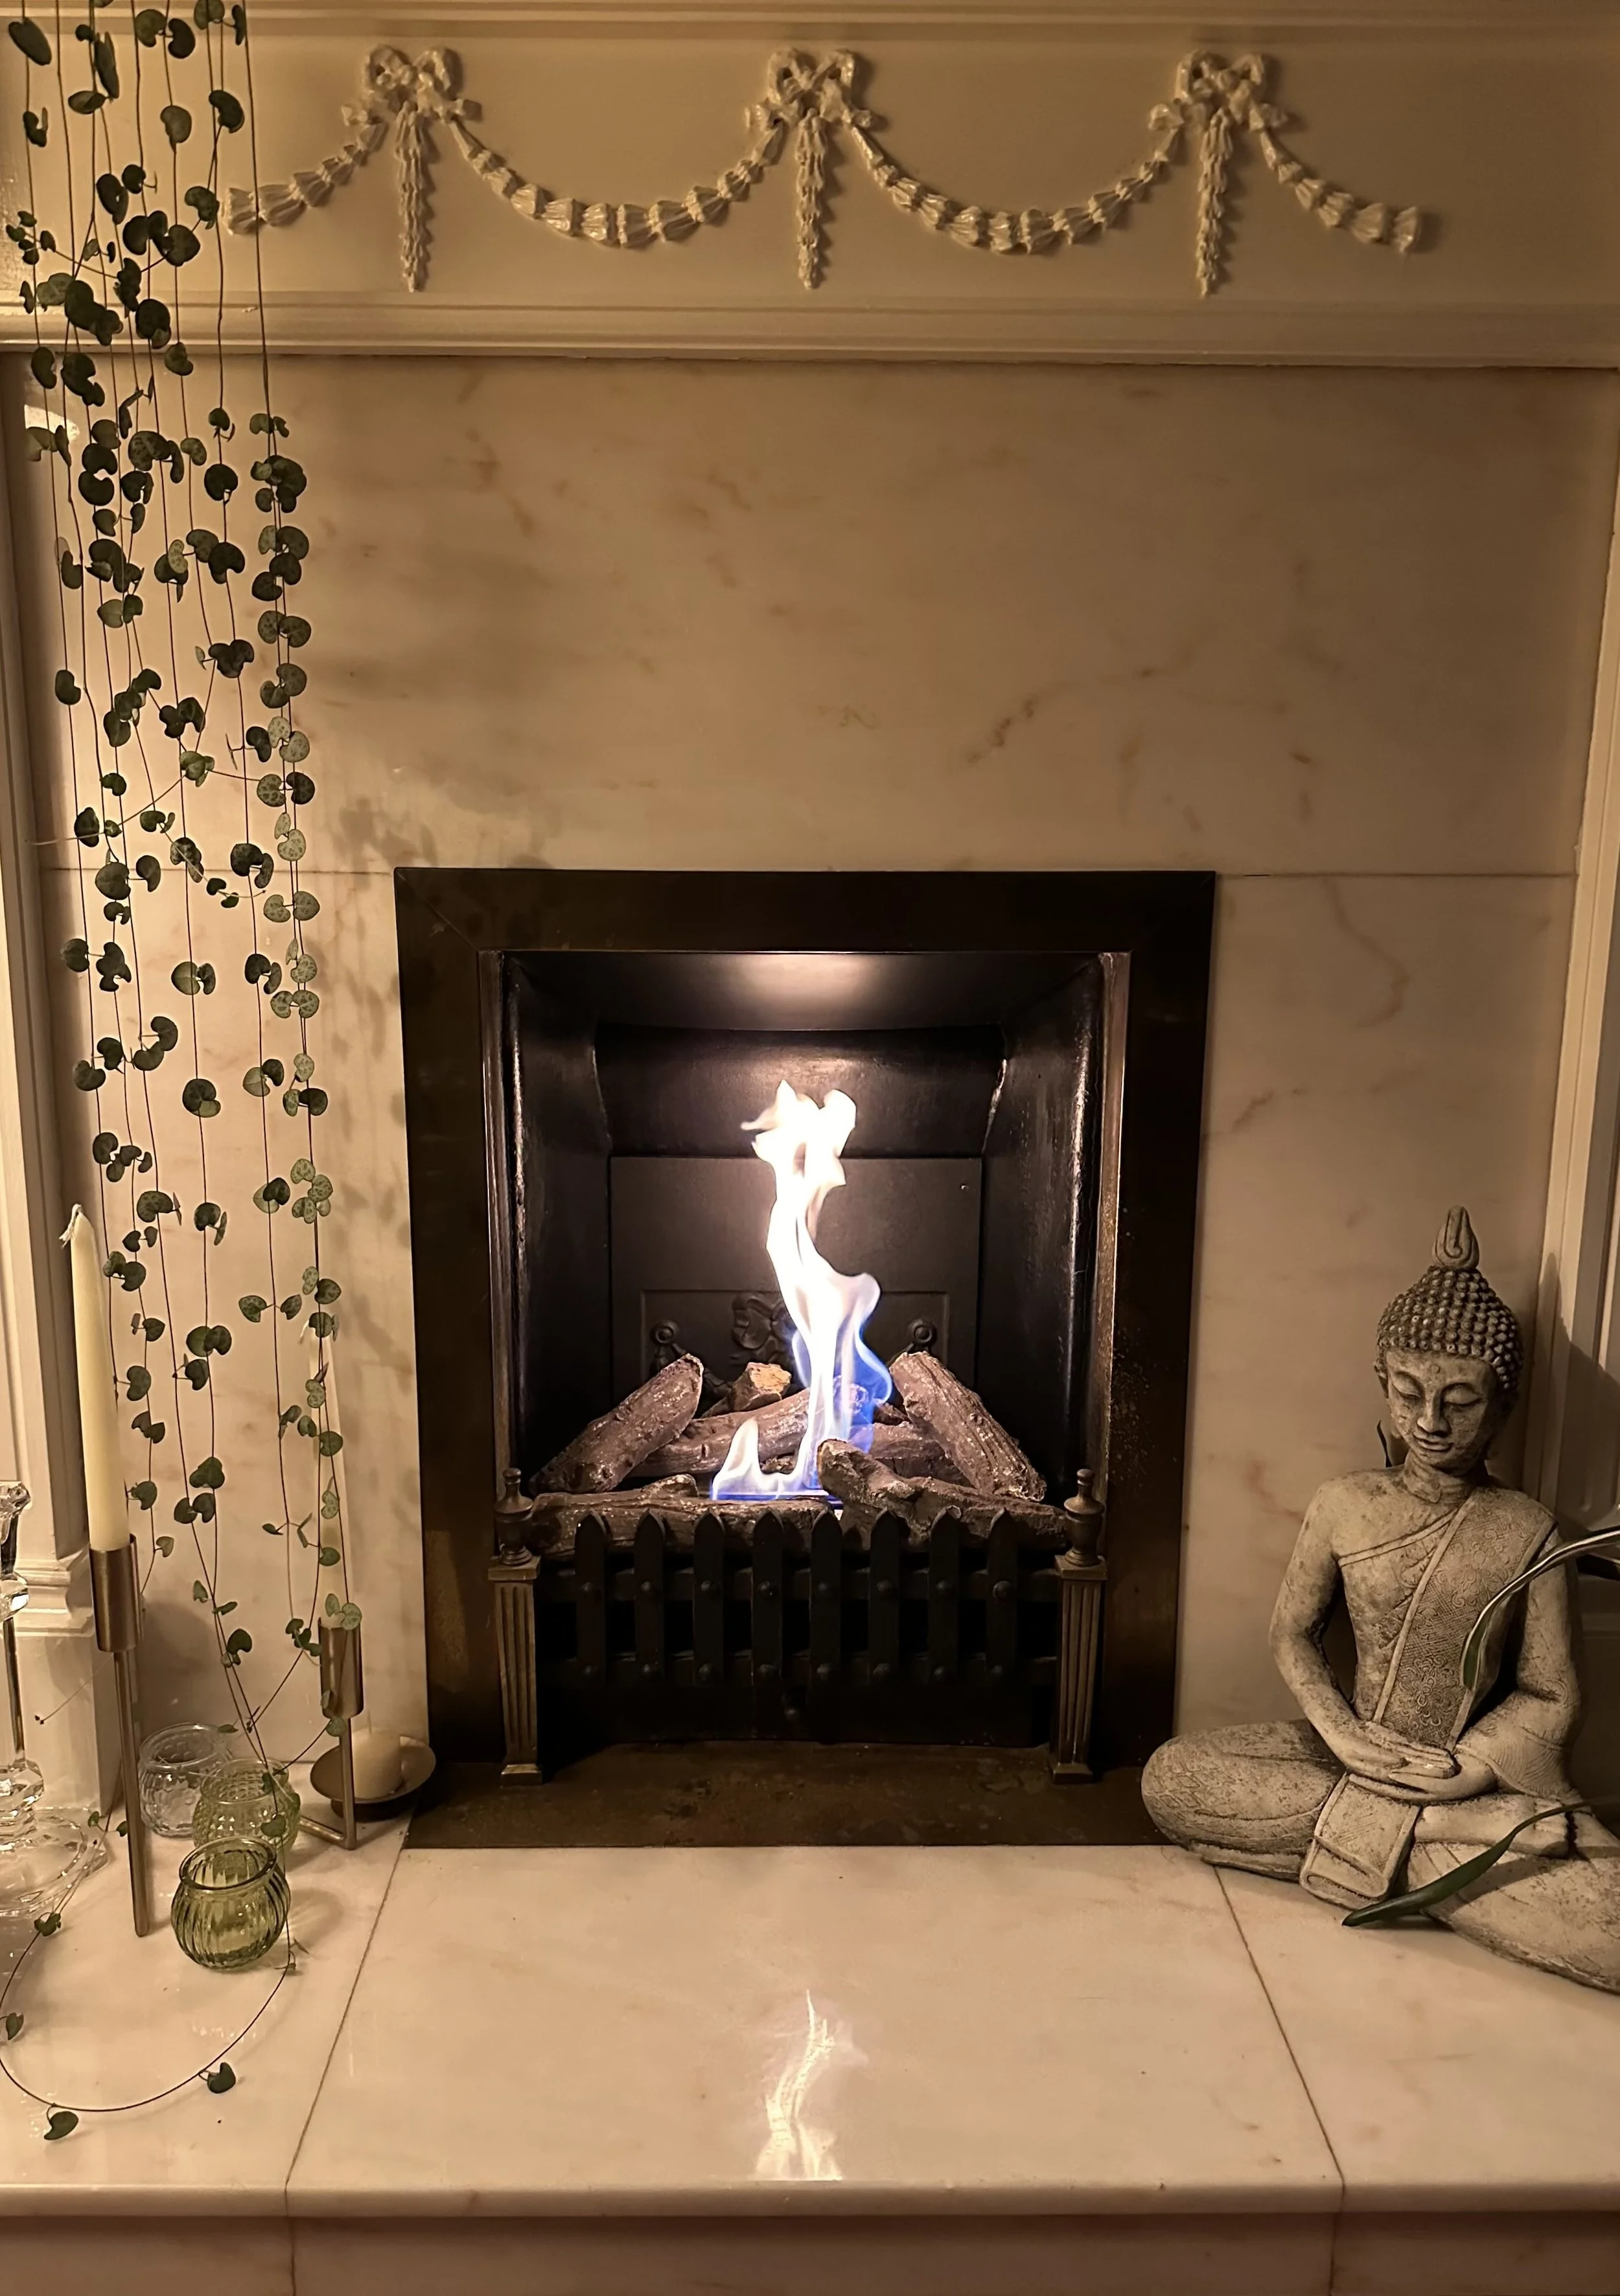
I had a redundant living flame gas fire in my living room complete with manky coals and a woodlice loving ecosystem. So what were my options to use it as an actual heat source? Re-connect the gas and lose at least 50% heat up the chimney; maintain the flue along with annual servicing costs; three grand to install a replacement electric fireplace? No chance!
It all started with a holy grail search for a trapezoid shaped electric fire insert when I stumbled upon a bioethanol replacement kit. This was something I’d never considered and knew nothing about. Several Google searches later I was fully appraised of the benefits of bioethanol when compared with traditional fuels such as not needing a chimney, low maintenance, less toxic and more eco-friendly. Sold.
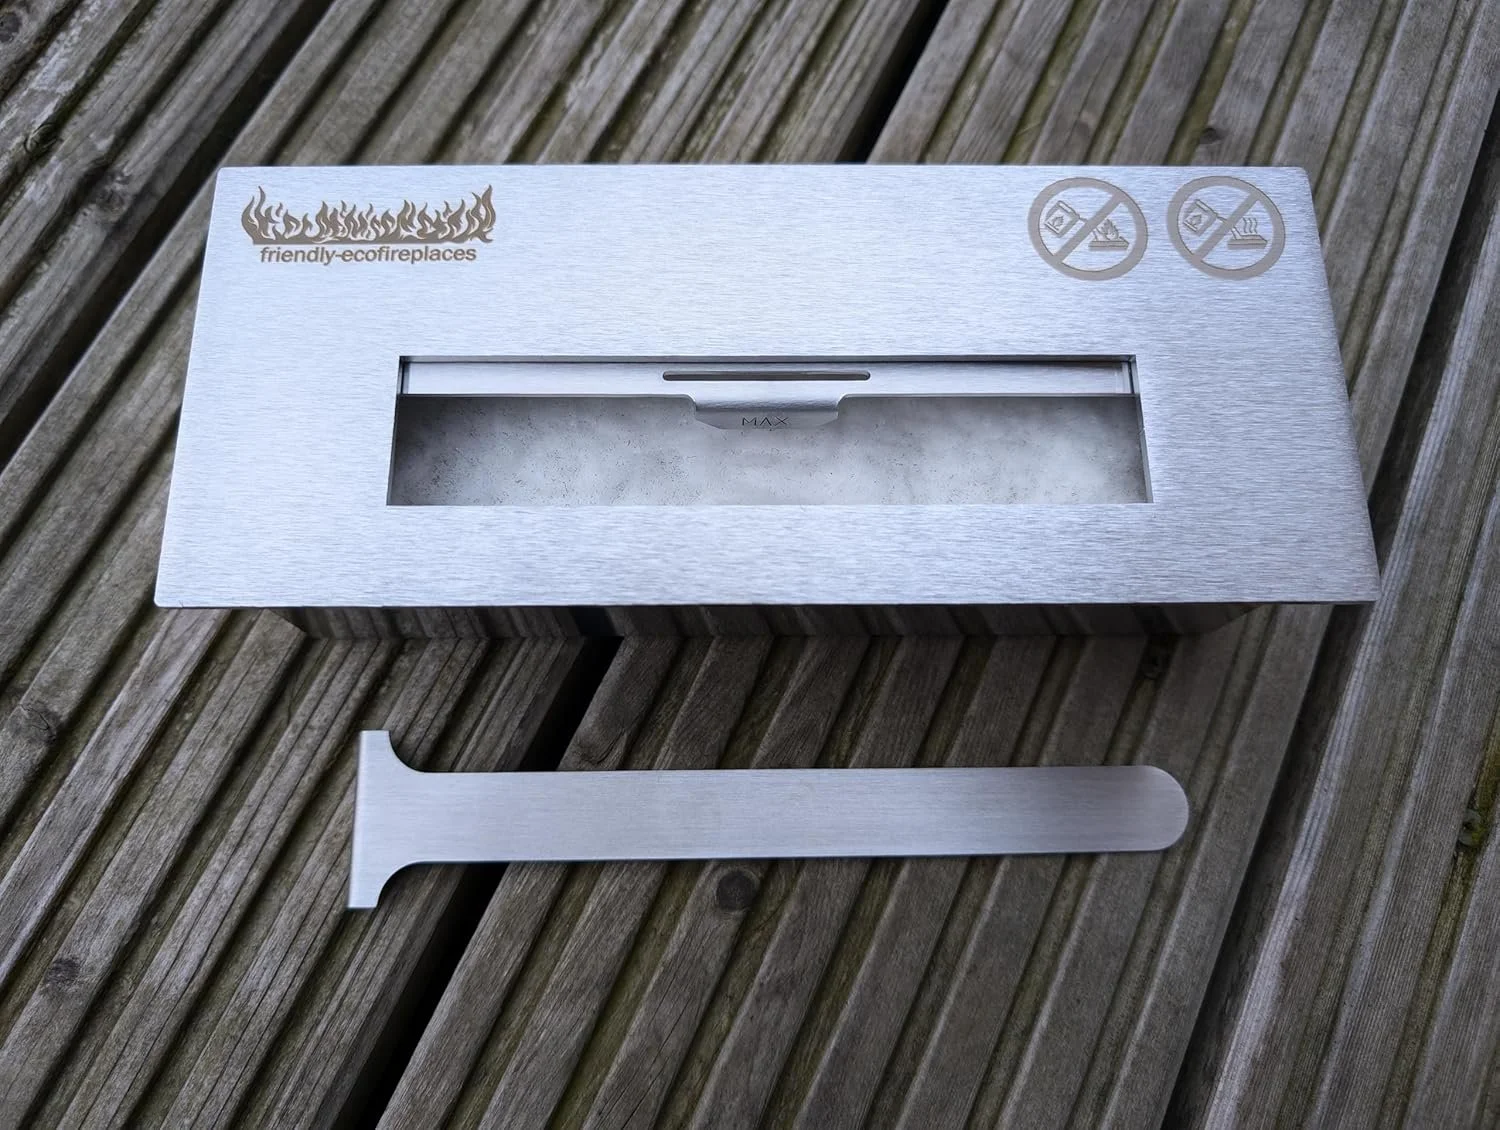
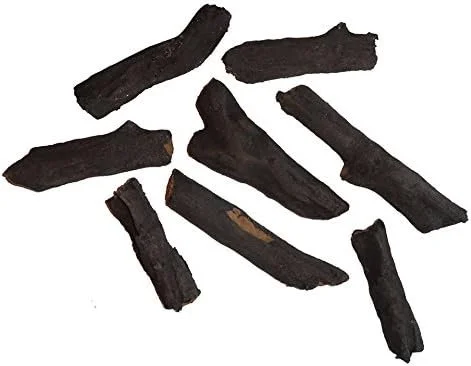
With a gas fire insert already in place, all I needed was the bioethanol firebox to get me started. Then it became the usual obsession. “Hmm, I could actually just use the existing coals but they look a bit rubbish plus they are probably a health hazard. Oh, those imitation logs look nice, I can add them”. Then there is the fuel which is not cheap but, hey, I’m in control of my usage right? And, more importantly, the gas giants aka utility companies are not getting quite as much of my dough.
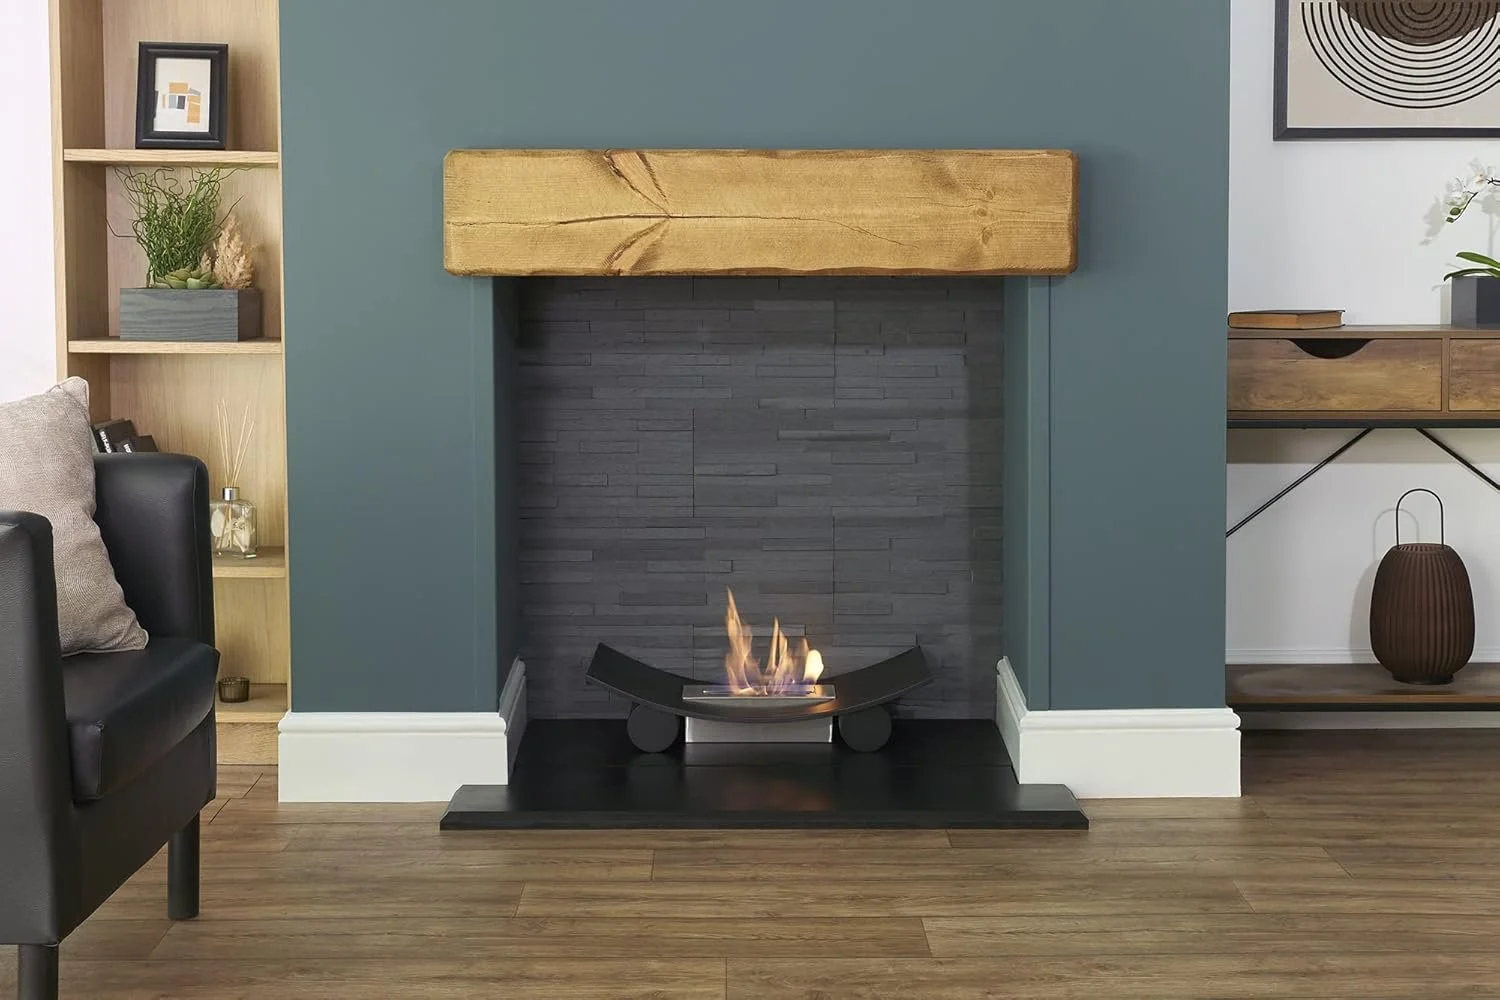
I started off with a small 1.2 litre firebox that would fit inside my existing living flame insert but you can get ones with different capacities. It came with a ceramic wool sponge already inside which helps to increase burn time and also prevent spillages if the firebox is moved. You only need to change sponges when the flame is not burning for as long or they look grubby. Or you can simply go without.
For bioethanol fuel I initially opted for the EkoFuel brand but struggled with its strong odour which actually gave me headaches and is perhaps better suited for outdoor use. In my opinion it’s definitely worth paying a couple of quid extra for something like Biola. But you can always buy as little as one litre bottles of different brands to see which works best for you.
There are loads of ceramic accessories you can buy such as coals, pebbles, and wood logs to disguise the cold stainless steel look of the firebox. For me wood felt a bit more ‘hygge’ so I went for an 8-piece set which was just right to fill my small fireplace. As these are made from ceramic fibre, the only downside is you can’t put these directly over the flame but, with some strategic placement around the opening, the firebox isn’t that visible.
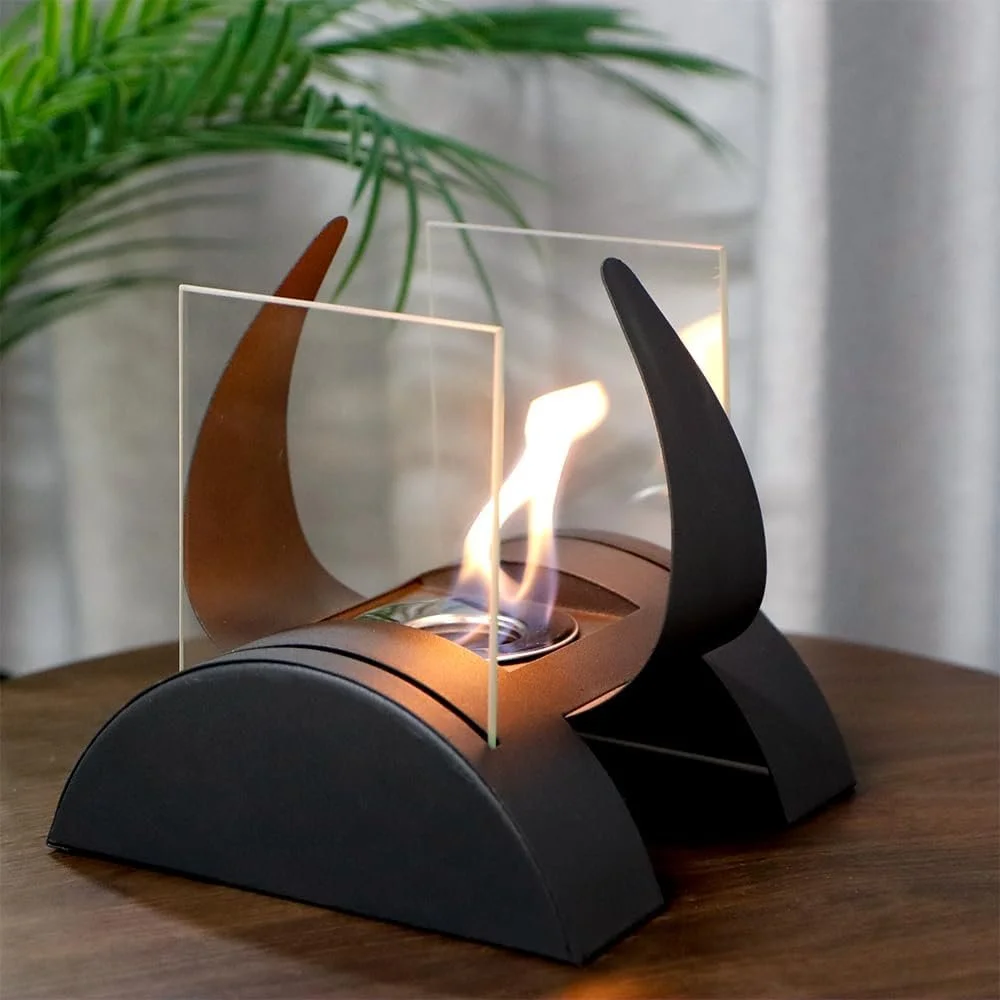
Depending on your situation, there are whole load of options out there to bring bioethanol into your world such as freestanding stoves that are good to go in any room or simply making use of an existing fireplace where you can get all creative.
DIY: Products used
All available on Amazon.co.uk
Give me heat already
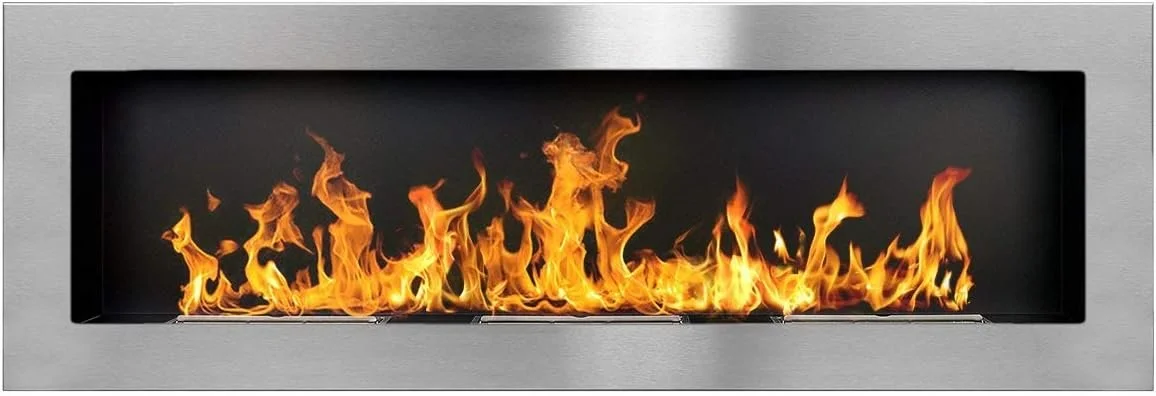
The great thing about Bioethanol fires is that you don’t need an existing fireplace to use one. Here’s some faff-free out of the box ideas that can be installed in any room of your choosing.
Bioethanol Fireplace Pros
Don’t need a chimney or flue
Ease of installation
Derived from renewable resources
Cleaner emissions
Cosy ambience
Indoor and outdoor use
The not so good
Relatively high cost of bioethanol fuel
Limited heat output compared with traditional fuels
Needs proper ventilation same as other fires
Like traditional fuels, still emits carbon dioxide
A Game of Draughts
Let’s face it, “heat the human not the home” is a bit of a miserable existence. So what can you do to make room temperatures more bearable without ramping up the central heating?
Mind The Gap
Apparently in the average home you can lose between 25% and 35% of heat through windows and doors and this percentage can be even higher if the windows and doors are old or poorly insulated. Thankfully this is something that can be remedied very cheaply with little time and effort.
A tell tale sign of my gappy wooden French doors happens in October with the great ladybird invasion. Even with the doors firmly closed they somehow manage their way in. Don’t get me wrong, they’re useful to have around for killing aphids that chomp their way through your indoor plants and those annoying wee black flies. But they suddenly lose their charm with their promiscuous clustering in the hidden corners of my bedroom. Yuk. To remedy this intrusion, I bought some self-adhesive felt seal strip (mmm, soft and fuzzy) and cleaned the areas with white spirit first to ensure a good sticking power. The 5mm thickness was enough to fill the gaps and still be able to open and close the doors. Straight away I noticed there was less noise coming from outside and the ladybirds have been kept at bay. Result.
As this worked well, I’ve also bought a thicker 9mm thickness roll for the larger gaps underneath my internal doors.
Steamy Windows
I’d say the biggest heat loss peeve is my single glazed, metal framed windows. Yes, people still have those. The leaded glass ones in my living room were a particular ‘pain’ point (pardon the pun). People kept suggesting secondary glazing but my “it must be aesthetically pleasing” character flaw dismissed that idea. However, after ridiculous gas bills two years running, practicality is now for the win.
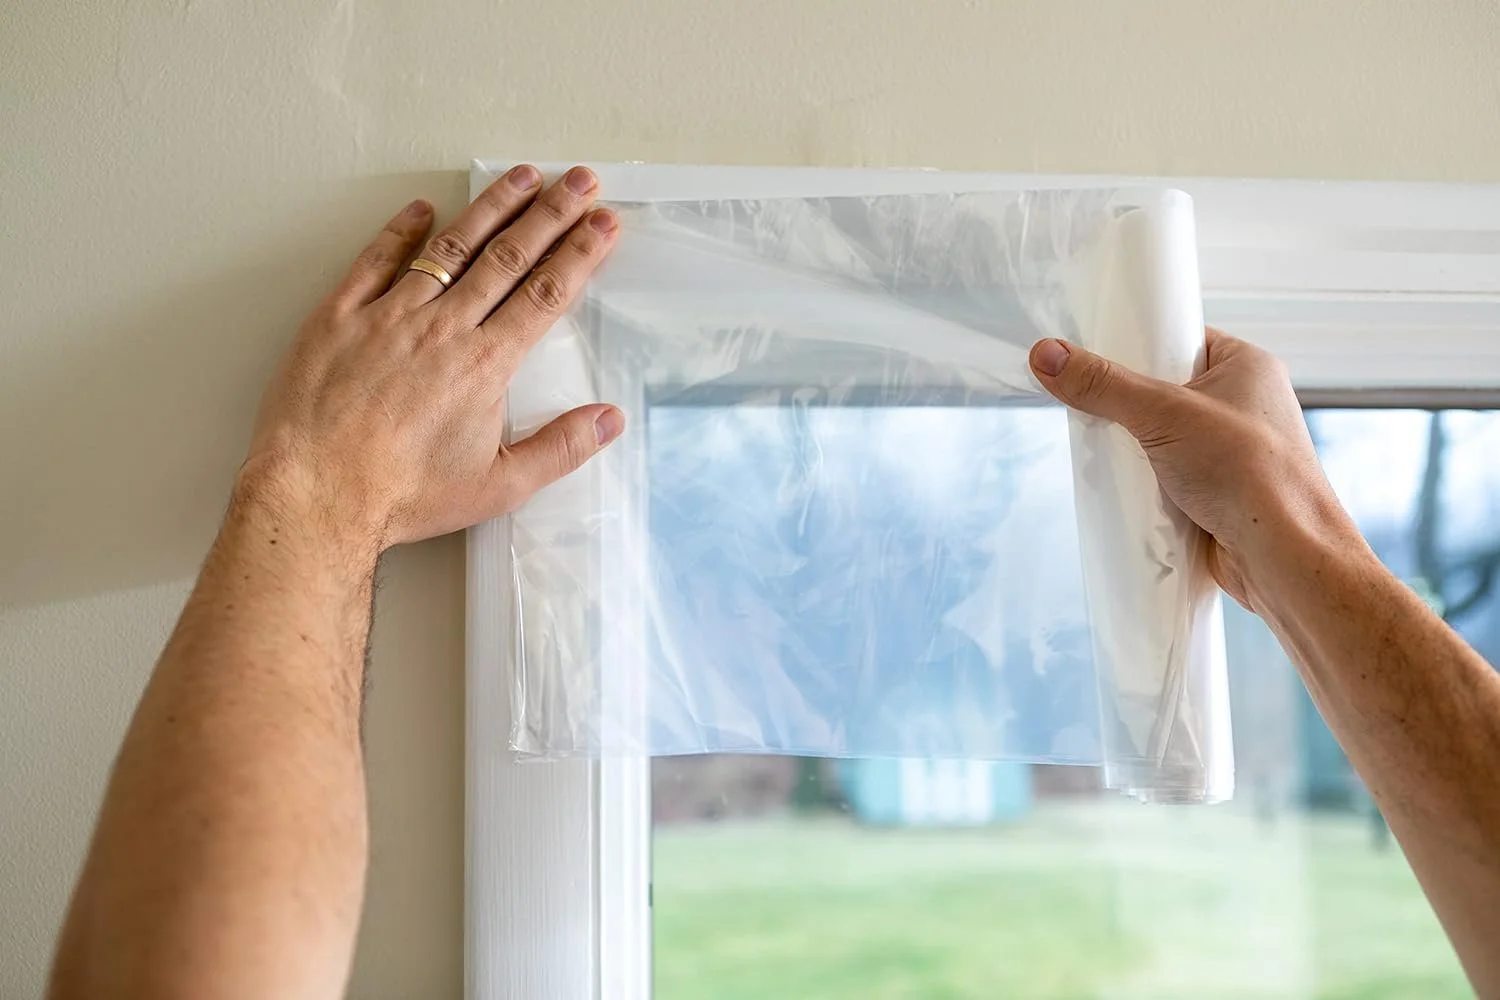
To see how it looked and if it was something I could live with, I opted for the low cost, non-permanent option of window film. This is basically clear film you can cut to size and stick to double sided adhesive tape. You then use a hairdryer to shrink the film so it’s nice and taut. The good old white spirit came in handy again and I gave the painted stone window frames a good wipe down. The tape stuck well to the frames and then the film is placed on top of the tape (after much swearing). There is a slight haze to the film but other than that the end result is not too shabby and barely noticeable.
If you want to access an opening window, you’ll need to modify the above solution. I used magnetic tape for this one instead with the window film so that I can remove the panel if needed. Top tip: don’t shrink the film with hairdryer for this one as it will pull the film inwards and the magnetic strips with it! I just used what I had to hand for this panel but something more rigid like plexiglass might be better.
For my other windows that didn’t form a proper seal when closed, I bought some D-Shape rubber weather strip. A simple solution whereby I stuck the strip onto the edge of the opening window so that it just overlapped the edge of the fixed frame, covering the gaps. Nice! Great for soundproofing too.
Canned Heat
After sorting the windows, it was definitely less draughty but there was still some mysterious coldness emanating from the external walls beneath the windows. How on earth do I fix that. I mean, it’s not as if there are noticeable gaps to fill. I wondered if there was such a thing as insulating paint. And lo and behold, there is!
In my bedrooms I have wooden panelling rather than radiators underneath the windows and these quite often have condensation on them. To help counteract this I found a paint called ThermalDry which claims to be both thermally insulating and water repelling by increasing the wall temperature, therefore preventing the formation of condensation and mould growth. For painting larger areas it may be a pricey solution but I’d see it as an investment that will last a long time and help keep that all important heat in.
Chimney Sheep
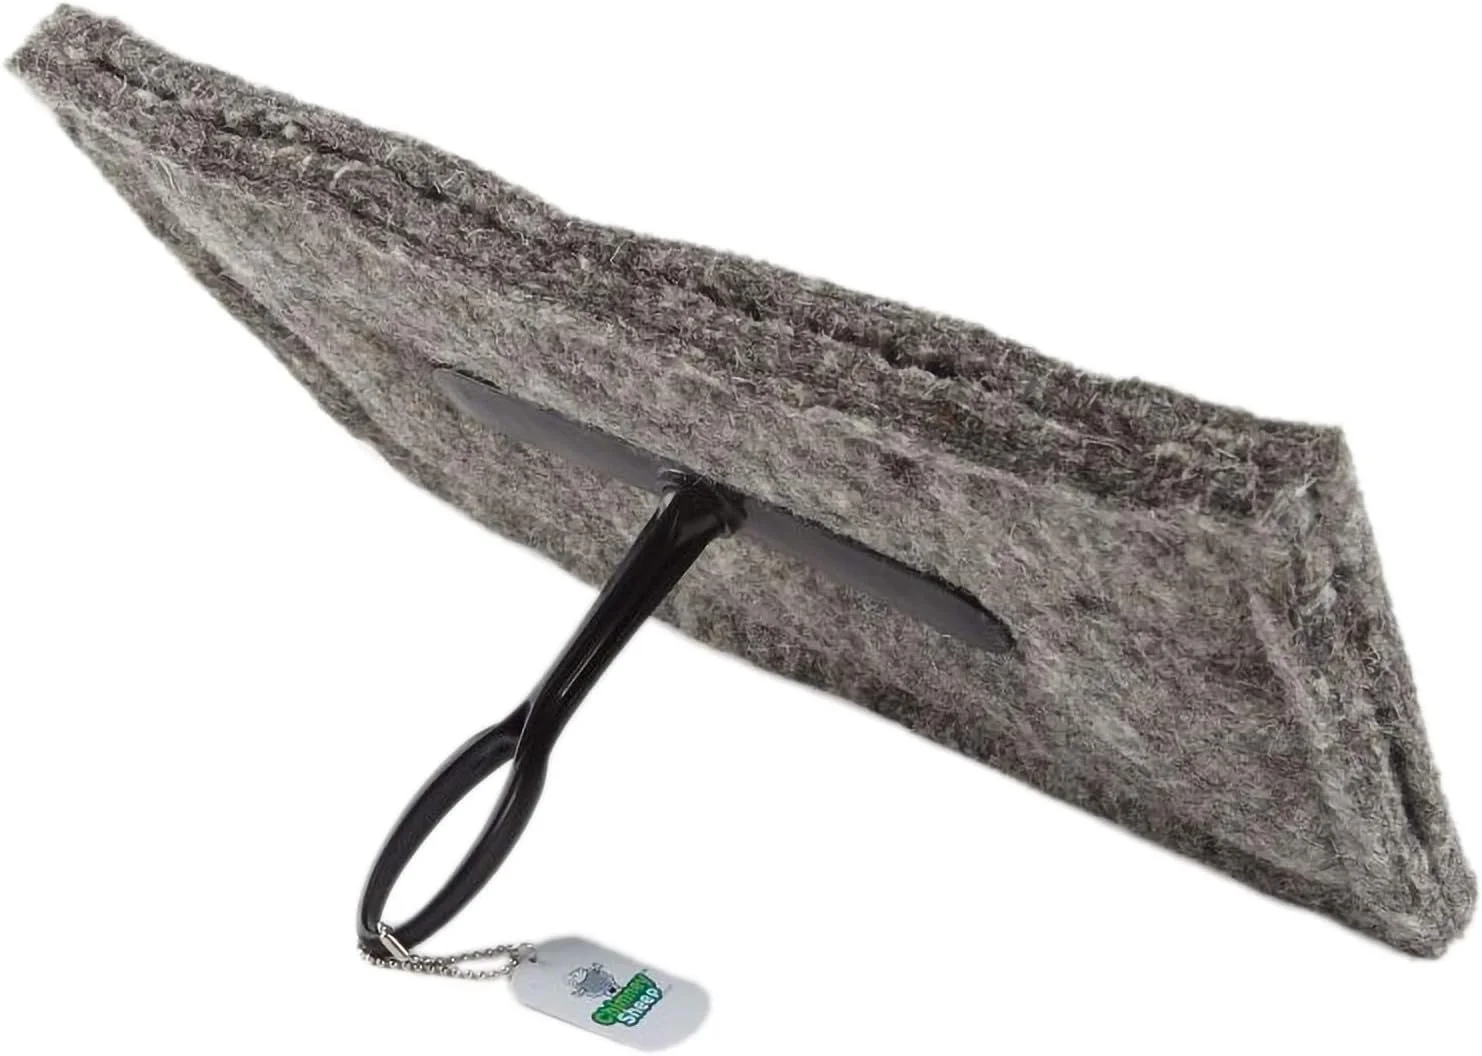
Yes, you read right, a sheep for your chimney. Not a live one of course. According to the Chimney Sheep website, if central heating is on when a fire isn't lit, a roomful of 40 cubic metres of warm air will disappear up the flue within an hour. Baa, not happening.
As part of my bioethanol fireplace project, blocking the chimney was a necessity. Time to get rid of the those plastic bags and god knows what else I hurriedly stuffed up there when I first moved in. Another Google trawl (I’m good at those) returned the Chimney Sheep as the ideal solution for my needs. You can get them in all shapes and sizes and they have a handy chart to help you determine which one is right for your chimney - you can even cut them to size if needed.
Products used
All available on Amazon.co.uk
Other Money Saving Ideas
The Department of Energy defines energy efficiency as “the use of less energy to perform the same task or produce the same result. Energy-efficient homes and buildings use less energy to heat, cool, and run appliances”.
Having the luxury of living in a smaller household where what I say goes, I’ve tried out a few things to see if they are cheaper to run and, more importantly, if they can give me ‘free’ heat.
Radiator Reflectors
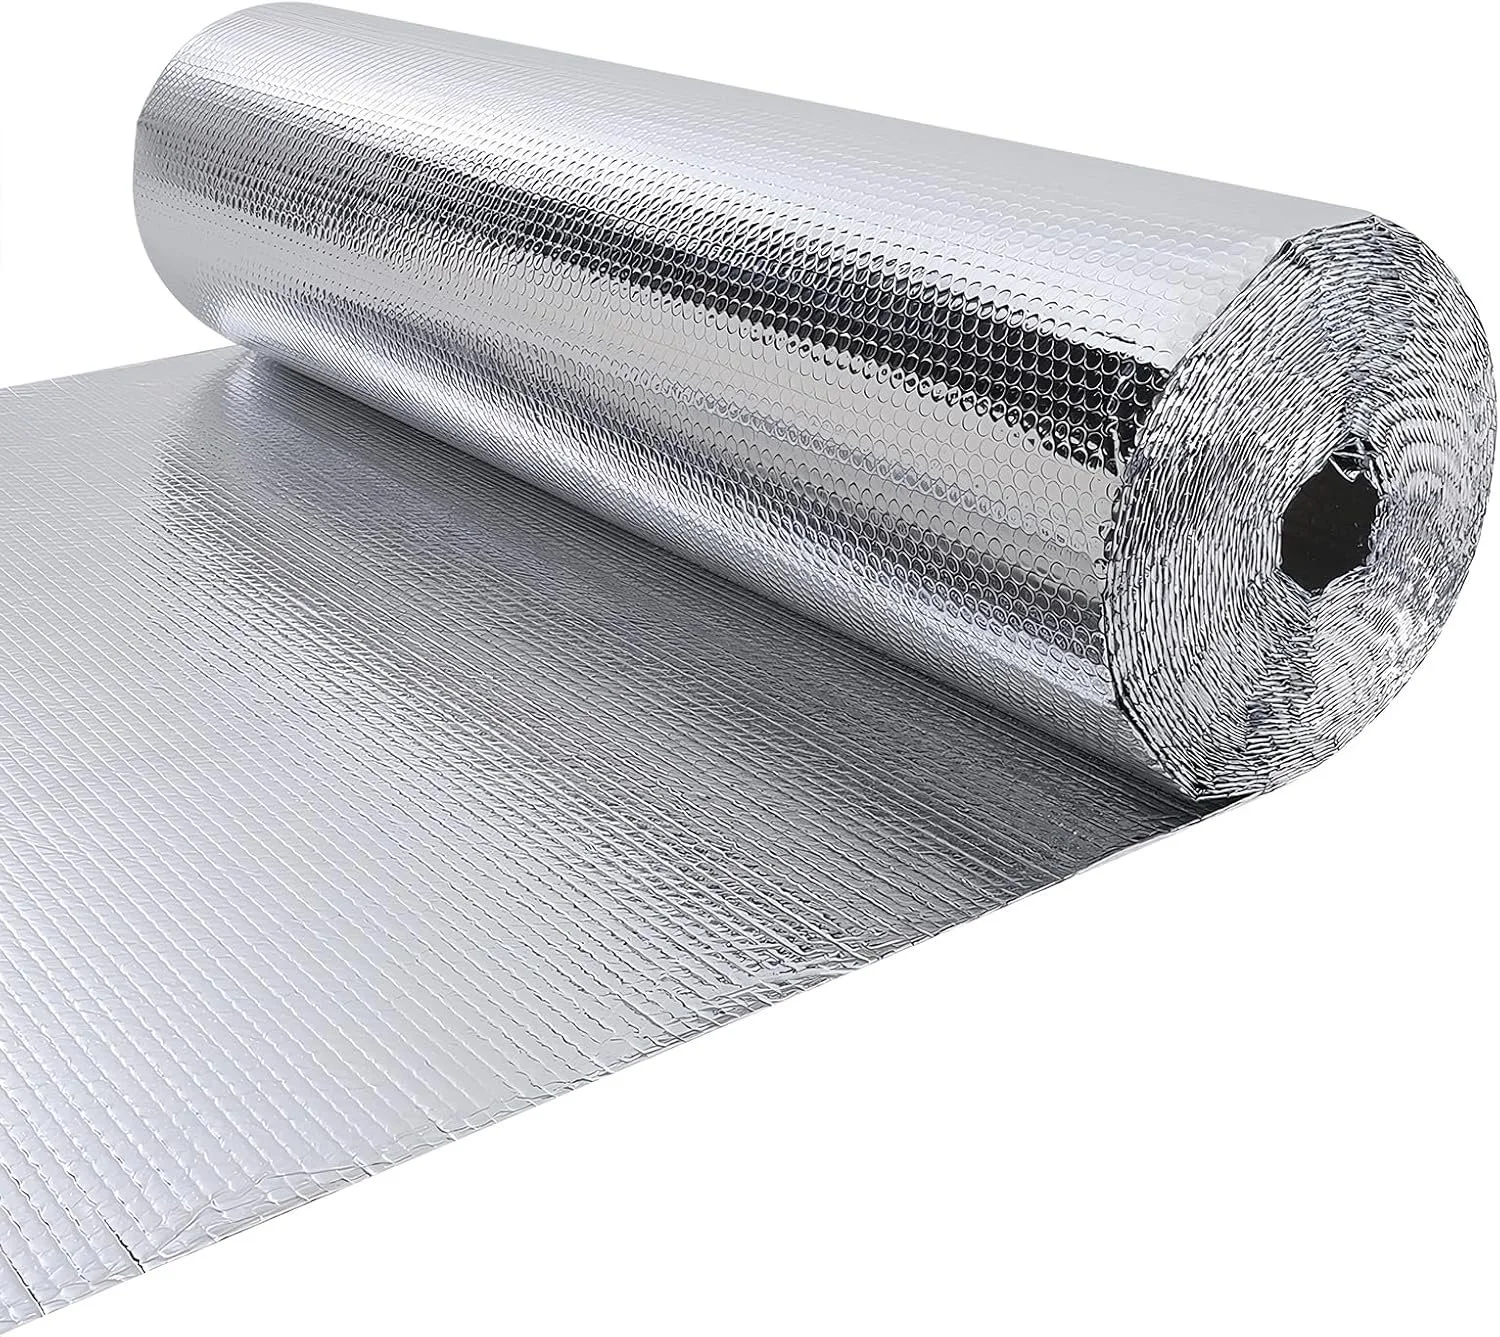
Putting foil behind your radiators is a great way to save money on your heating bills as it prevents heat from escaping straight out of the wall and into your garden or neighbouring properties. Using radiator foil enables you to direct the heat towards the room and boost your radiator’s, well, radiance. You can easily do this on the cheap with regular kitchen foil although, over time, it does become less effective at reflecting heat. I opted instead for radiator reflector foil - there is a bit of an outlay on this one when you consider it’s just shiny bubble wrap. But it’s a huge roll, really easy to fit and any offcuts can be used for insulating other things such as garden sheds or covering windscreens. I might even wear it to bed.
Heated Clothes Dryer
Arguably one of the most cost-effective ways to dry your clothes, heated clothes airers shouldn't set you back too much financially, even when left on for hours. Don’t get me wrong, it will never dry clothes anywhere near as quickly as a tumble drier but just think of all that lovely leccy you’re saving plus it will add a nice bit of heat to the room in the process. If you don’t have too many washing loads and don’t mind waiting longer for your clothes to dry then this is a great money saving solution plus it’s kinder on delicate fabrics.
Because I’m a complete skinflint, I didn’t buy a drying cover when I bought my airer but you can pick these up for around a tenner. I’m seeing how it goes hanging a duvet or mattress cover included in the wash but I’m finding these don’t ‘seal’ everything in so you’re not really getting the benefit of the hotter air circulating around the clothes.
One downside is you’ll need to ensure that there is decent airflow otherwise the airer could cause damp or mould. You only need to keep the window open a crack so that there's a small gap for the excess moisture to escape the room. Plus you’ve already de-risked the condensation with the insulating paint, right?
Depending on your available space, you may want an airer that takes up less footprint and that’s where tower airers come in. They are a bit more expensive to buy and run but do dry clothes quicker and take up less space than the winged variety.
The Singing Kettle
Another way to use less electricity is by swapping your electric kettle for a stovetop one, especially if you have a gas hob. Ironically, electric kettles are actually much more energy efficient and, of course, convenient. But if you don’t mind waiting a bit longer for your water to boil and are not the forgetful type likely to end up with charcoaled remnants, a stovetop kettle with it’s cheerful whistle is an old-school way to save money by using much cheaper units of gas.
I actually bought an Edenberg one a couple of years ago which I’ve managed not to incinerate. After the first slow boil of the day, subsequent boils are actually quite quick. The downside to this kettle is that the black paint does start to come off at the edges but, as I was insistent on the black as my colour choice, then I’m happy to live with it and it doesn’t impair the functionality of the kettle. If ‘made in China’ doesn’t bother you then there are other kettles available with higher star ratings.
You don’t have to ditch your electric kettle forever though. I still keep a dinky gooseneck kettle on standby for passing coffee snobs and also the parents when they come to visit so they don’t set fire to my kitchen.
Smart meters
I held out on getting a smart meter installed for a LONG time. Mainly because my electricity and gas meters are out of range miles away from my flat so I couldn’t monitor my usage anyway. I also never signed up for direct debit either (sorry Martin) as I felt more in control by only paying for what I use. But what was my usage actually made up of? I got the electricity meter first back in the summer and miraculously managed to pick up a signal with the in-home display. Cue turning everything off and on to check the wattages. Long story short, I’ve managed to reduce my leccy bill by two-thirds. I’m a winner. The biggest culprit was actually my desktop computer which I used to leave on overnight along with audio equipment. I also discovered that the more powerful applications I had open, the more power the desktop consumed. All makes sense now that I think about it. So anything that doesn’t need to run overnight gets switched off and it definitely all adds up.
The gas meter installation is next month but, with all my winter-proofing actions in place, I’ll only need to have the central heating on for an hour a day of course. Fingers crossed…
Products used
All available on Amazon.co.uk
Cold Snap Update
I've just about thawed out from the recent severe drop in temperature and successfully released the car from its deep freeze state. Indoors, the draught-proofing measures certainly helped retain the heat overnight but it did bring with it a different set of problems. The condensation was reminiscent of the streaming torrents you endured as a smoker on the upper deck of a bus back in winters of the 90s and it was a daily battle to stop the water undoing all my good work with the window film. That's alright when you have time on your hands to spend 40 minutes each morning armed with a window vacuum and giant microfibre cloth.
Steamy Windows - boss level
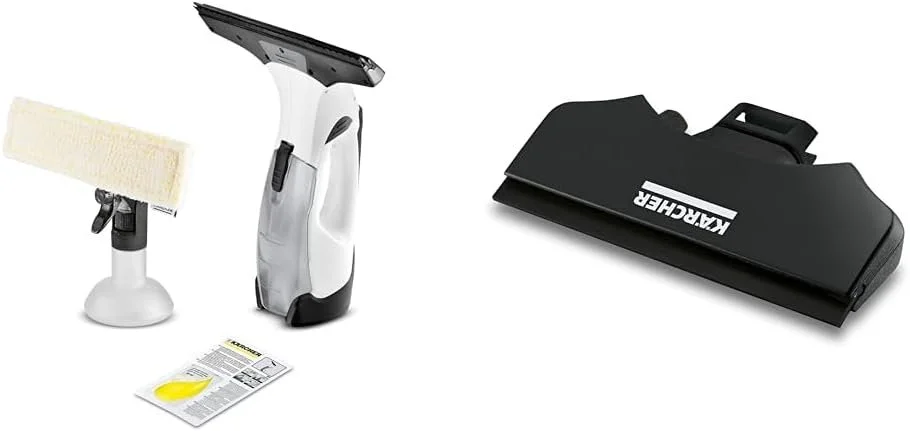
All I can say is thank goodness I already had a trusty window vac bought last year to combat the inevitable glacier spills. I found the Kärcher WV 5 Plus N Window Vac with its small suction blade attachment is ideal for making proper contact with my leaded windows and makes quick work of clearing larger windows too. However, it was sooo cold outside that the condensation kept forming throughout the day. Time to look at more drastic, preventative measures. Time to bring in the big guns...
It's a mist-ery
My mum had suggested numerous times that I buy a dehumidifier but the stubborn perpetual teenager in me just gave her the usual good ignoring. Plus I did not want yet another appliance cluttering up my home - air fryers can just do one. But this time I had to admit that she was right and, after watching a few recommendations on YouTube, plumped for the Meaco MeacoDry ABC 12L Dehumidifier as being THE ONE.
25 NOVEMBER 2024
Apart from the great reviews and its low energy costs, what also sold this particular unit for me was that it came with a Laundry Mode. Coupled with the heated air dryer I was thinking this pairing was a pre-tay good solution to drying clothes faster without generating so much condensation. Look at me joining the dots, so special. Another added bonus is that, because the air has less moisture, the room heats up quicker and also smells fresher too. After first use my dehumidifier needed emptied pretty quickly and I was astounded by how much water it had collected.
You do have to be careful though if, like me, you're partial to a houseplant or twenty. Soil gets dried out pretty quickly and needs more regular watering. And just like plants, us humans dry out too. I had the dehumidifier going all day in the room I was working in and wondered why I had a sore head and was a bit parched. Not my finest hour but shows it definitely works.
Check out CharlieDIYte on YouTube with his bunch of really helpful and relatable videos. He shares my window pain (groan, not that “pain” pun again). Here’s how he goes about removing condensation from windows with a Karcher vac.
Products used
Available on Amazon.co.uk

So has any of this made a difference? Although the bioethanol fire doesn’t feel like it gives out much heat, it still feels cosy and you certainly notice it when the flame goes out. Plus, the thermostat located in the hallway goes up by one degree. “Big deal” I hear you say but my living room has high ceilings and huge windows so, all things considered, that’s pretty impressive.
With the draught prevention measures in place the temperature doesn’t drop as much overnight as it used to - only by one degree. But you’ll make that back up again with the bioethanol fire of course. Coldest night outside so far was 2 degrees centigrade and the colder winter nights to come will be the real test. I’ve had the central heating on one hour per day max and temperature is sitting at a pretty consistent 18 degrees during the day. Something to note is that all my windows are single glazed and interior doors are left open for the cats so keeping the heat in for the WHOLE flat is must!
The window film is holding up nicely but, on the colder mornings with more condensation, the tape can come unstick at the bottom of the frame where there is inevitably more water pooling. The good thing is that the condensation is not now hitting your windows directly - wish I had bothered to install the film before the paint started flaking off. Plus black mould is less likely to form. I just gave the film a wipe down with a microfibre cloth in the mornings and, when completely dry, added more tape to the bottom of the frames to secure the existing tape back into place. Definitely less draughty, and my curtains aren’t moving in the wind! Plus, when I lit a candle the flame was perfectly still and not blowing about all over the place. Again, the really cold nights will test the effectiveness of this solution but so far so good…


